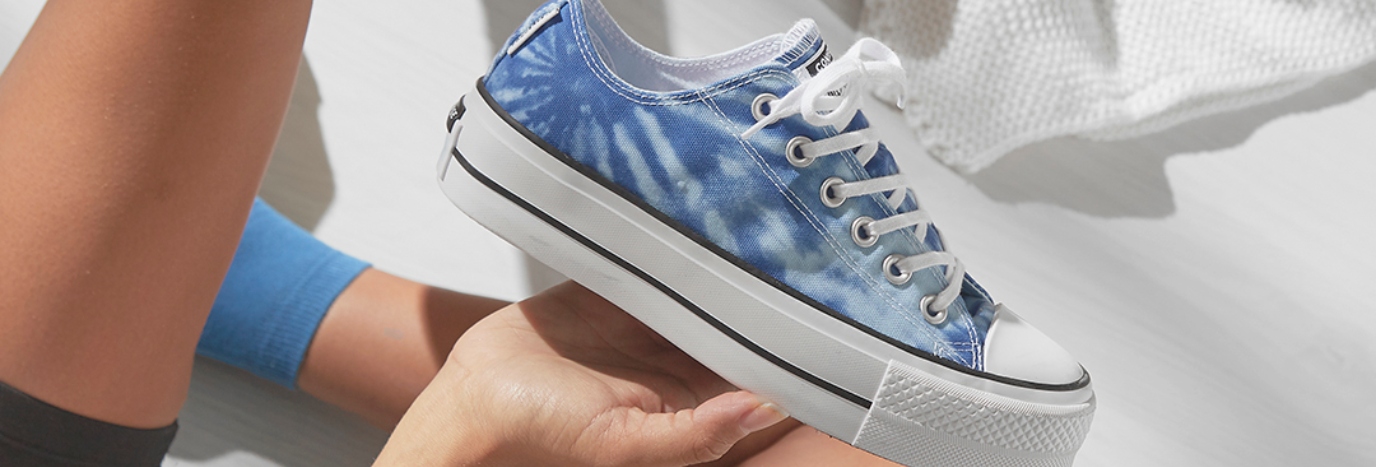
Takin’ over the Summer, tie-dye is THE trend you need to be wearing right now.
Your fave brands have been dropping everyday essentials, must-have looks and even trainers in bold tie-dye patterns. But if you’re feelin’ old-school or just wanna’ get creative, creating your own tie-dye pieces is super easy!
Right here, we’re giving you the insider info on how you tie-dye yourself at home. Just follow these six steps…
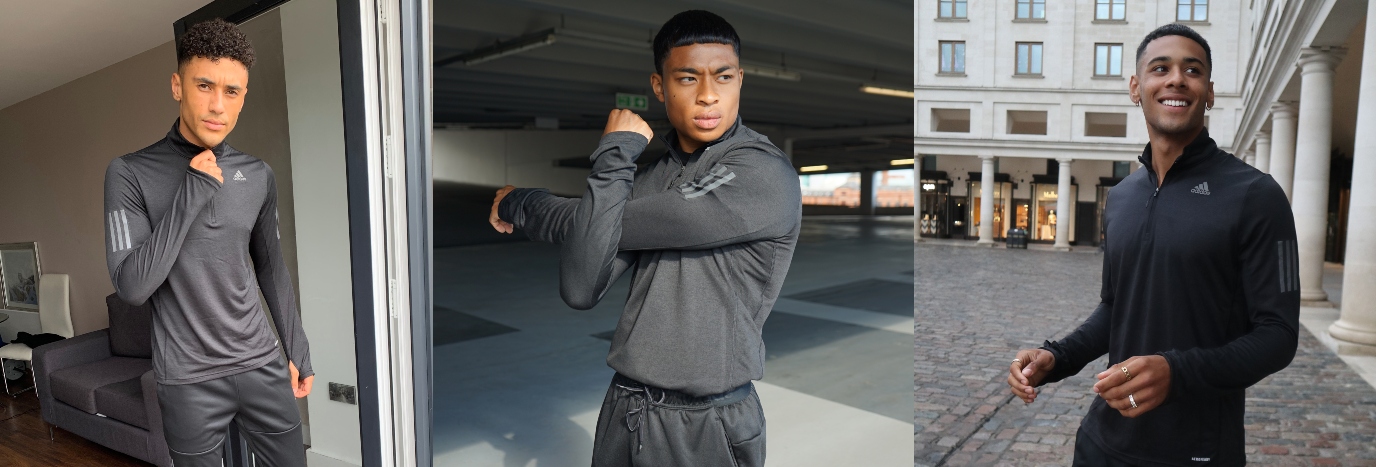
 (@joannahstyle & @atarahmayhew)
1. Pick up the essentials. If you don’t have coloured dyes at home, bleach works too! You’ll need rubber gloves, elastic bands and somethin’ that you want to tie-dye.
2. Prep the space. Tie-dye can be pretty messy so make sure you protect surfaces with a sheet, or do it outside.
3. Add the elastic bands. Each piece is totally unique, it’s all about where you tie the bands. Be creative (or try Google for inspo!) Just twist up your fabric and tie your elastic bands around the knot. There’s no right or wrong way to do it – you do you!
4. Dye it! Spray or soak each of the sections you’ve tied up. You can do this with one or more colours, or just with bleach depending on the look you’re after.
5. Aaand chill. Let it soak in for up to 24 hours. The longer you leave it, the brighter the colours will be. Top tip: around 2 hours will leave you with pastel shades.
6. Rinse & Dry. Once time’s up, take the bands out and rinse it thoroughly in cold water until it runs clear (if you’re using bleach, be extra thorough). Then it can go in the washing machine on a normal cycle and once dry, you’re good to go!
Warning: Once you start, you won’t wanna’ stop. This tie-dye trick will work on tees, socks, sweatshirts and more!